Refrigerator Repair
Viking Refrigerator Dimensions: Cutouts, Power and Water
Viking built-in refrigerators are made to sit flush in a standard 24-inch-deep opening, in widths such as 24, 30, 36 and 42 inches, with exact cutout figures on each model's install sheet. Check the opening, the route in, the circuit and the water line before you order.
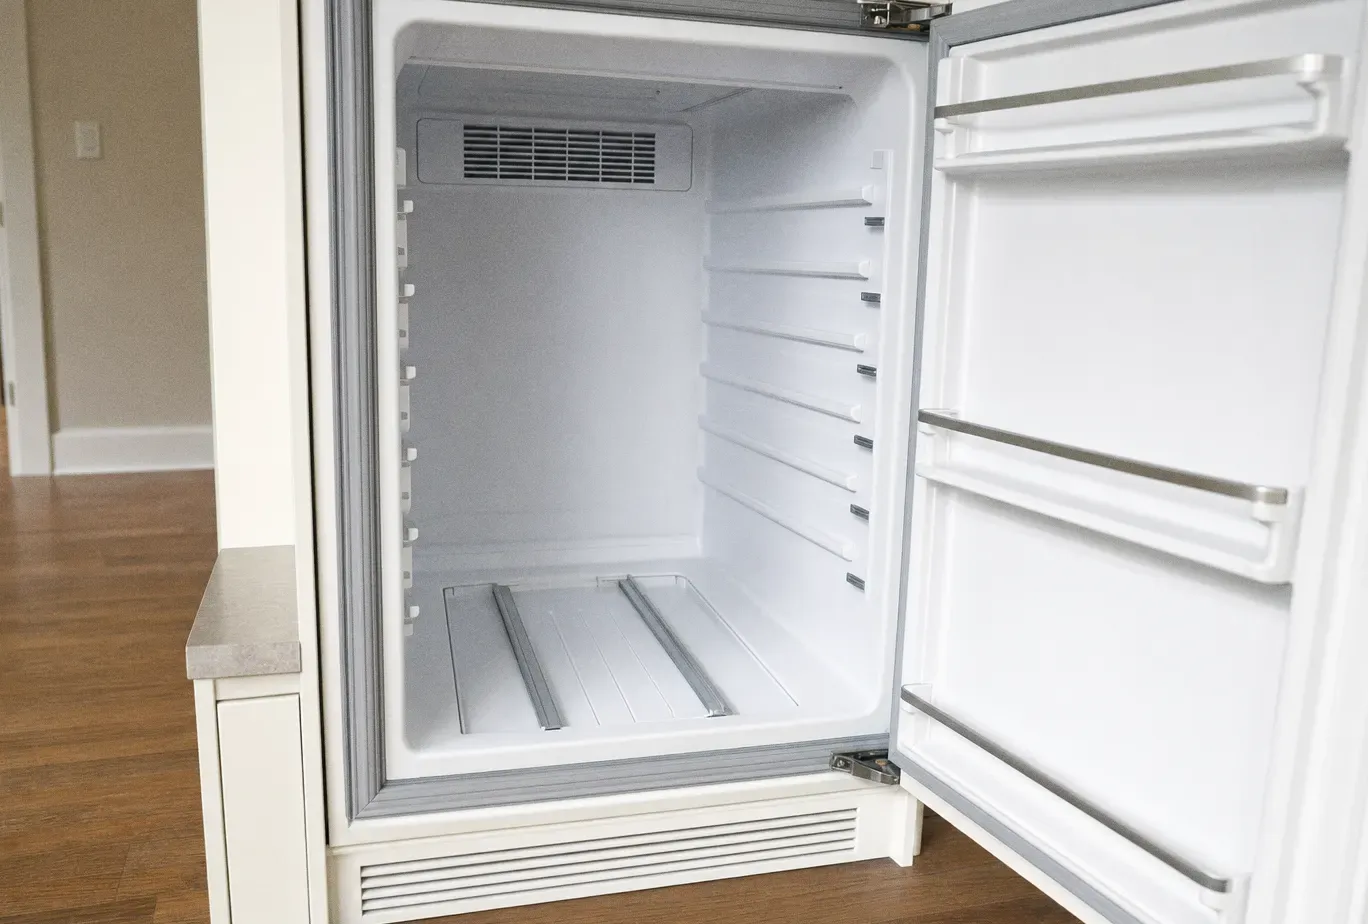
A Viking built-in refrigerator is made to slide into a cabinet opening 24 inches deep, so its face lines up with standard kitchen cabinets instead of sticking out into the room. Width depends on the model: the FDREIC integrated all-refrigerator comes in 24, 30 and 36-inch versions, and the 5 Series VCSB5424 side-by-side is 42 inches across. The height and the precise cutout figures sit on each model’s installation sheet, and that sheet, not a store listing, is what the cabinet maker should build to. Behind the box you also need a dedicated 115 volt, 15 amp circuit and a 1/4-inch copper water line.
Getting those numbers right matters more in Marblehead than in most towns. A good share of the houses in Old Town went up long before anyone owned a refrigerator, so floors slope, walls lean and the kitchen doorway can be narrower than the appliance on the delivery truck. Ten careful minutes with a tape measure before you order saves days of trouble after it arrives.
Read the install sheet before anything is cut
Viking publishes an installation document for each refrigerator, and its figures are the ones that count. A product page tells you the outside size of the appliance. The install sheet tells you the size of the hole it needs, which is a different number, because the opening has to leave room to slide the unit in, level it and anchor it.
Three families need to be kept apart. Freestanding models stand on the floor like any ordinary fridge and need air around them. Built-ins, whether they wear a Viking stainless front or a Custom Panel, fill a 24-inch-deep opening and sit flush. Integrated columns, such as the FDREIC or the 7 Series VRI line, vanish behind cabinet panels and depend on accurate hinge and door alignment.
Measure the space you have, not the fridge coming out
Measure the opening itself, not the old refrigerator. Earlier units were often shimmed, trimmed around or wedged into a space that has shifted since. Take the width at the top, middle and bottom, and the height at the left, centre and right. In a house with settled floors those readings rarely agree, and the smallest one is the real one.
Depth runs from the face of the cabinets to the back wall, and everything on that wall counts against it: the water valve, the outlet box, a baseboard, a bulge in old plaster. A built-in that ought to sit flush will stand proud by exactly the thickness of whatever got overlooked.
Then walk the route in. Check the front door, the hallway turns, any step up from a porch and the kitchen doorway. Tall columns and wide side-by-sides travel upright and weigh a great deal, so one tight corner in a narrow house can stop a delivery at the threshold.
Power and water behind the unit
The VCSB5424 asks for a dedicated 115 volt, 60 Hz, 15 amp circuit, and the FDREIC integrated models ask for the same 115 volt, 15 amp dedicated supply. Dedicated means nothing else shares that breaker. A refrigerator on the same circuit as a toaster oven or a disposal will trip it now and then, and a unit that loses power overnight without anyone noticing can spoil a freezer full of food.
Both also want a 1/4-inch copper water line, with house pressure somewhere between 20 and 120 psi. Copper copes with a heavy unit being pushed home, where thin plastic tubing can kink or split out of sight. Pressure at the low end, common at the far end of a long run of old pipe, means slow fills and small cubes. Pressure at the high end strains the valve.
Place the outlet and the shutoff where the install sheet shows them. If either sits in the wrong spot, the refrigerator cannot go fully back, and moving a box or a valve once the cabinets are finished is a much bigger job than doing it first.
Doors, panels and room to breathe
Door swing is part of the dimension too. The 5 Series built-ins have door stops that can be set at 90, 110 or 120 degrees, and they leave the factory at 110. The 7 Series stops adjust to 90 or 105 degrees and ship at 90. Beside a wall or a tall pantry cabinet, a wide-open door may strike something, or open too little for the bins to slide out, so settle the stop before the installer packs up.
Custom Panel and integrated models carry wood panels matched to the cabinetry. The panel thickness, weight and hinge clearance all come from the install sheet. A panel built heavier than allowed makes the door sag over the years until the gasket stops sealing, and a door that no longer closes square shows up as frost, sweating or a compartment that drifts warm. Keep the front grille clear as well, since that is where a built-in draws in and pushes out its air.
Freestanding units follow different advice. ENERGY STAR suggests leaving a few inches between the wall and the refrigerator, keeping it away from the oven, the dishwasher and strong sun, and holding the fresh-food side at 35 to 38 degrees Fahrenheit. A fridge jammed into a tight nook beside a range runs longer than it should and wears its fans and compressor sooner.
Mistakes that turn into service calls
Most early trouble after an install traces back to one of a handful of causes:
| What happened | What you notice | What you can check | When to call a technician |
|---|---|---|---|
| Unit not level | Doors drift open or fail to seal | Level side to side and front to back | Frost or warm readings stay after levelling |
| Shared circuit | Unit goes dark, breaker trips | Nothing else on that 15 amp breaker | Trips continue on a dedicated line |
| Kinked or plastic water line | No ice, weak dispenser | Copper line, valve fully open | Line and valve are fine and still no ice |
| Panel too heavy | Door sags, gap at the gasket | Panel weight against the install sheet | Hinge or gasket already damaged |
| Showroom mode left on | Lights work, nothing cools, SHOW on the display | Exit showroom mode per the manual | Display normal but the box stays warm |
That last one catches people who buy a display unit. On a 5 Series built-in, SHOW means the controls and lights run while the refrigeration stays off. Getting out takes a held ACTIVATE CONTROLS key while HIGHER and ALARM OFF are pressed as a pair, and three beeps confirm the change.
If the refrigerator is in, level and powered and still will not hold temperature, our Viking refrigerator repair visit begins with a flat $95 charge. It covers the drive out and a full diagnosis, and if you say yes to the repair, the $95 is folded into its price. As a rough guide, a refrigeration fan or defrost system repair typically runs $290–$710, and compressor or sealed-system work $1,120–$2,630, with the firm price given once the fault is found.
The first two days after it goes in
A new built-in needs time. Allow 24 to 48 hours before you expect any ice, and throw out the first three full drawers it makes, since the early batches flush the new line. After a long spell of non-use, the first drawer should go too.
If there is still no ice, work through four things. Make sure the signal arm is down in the on position, the freezer has had overnight to get properly cold, the water valve is open and the line behind the unit is not leaking. An oPn or Shr reading means a temperature sensor has raised its alarm. Clear it with ALARM OFF; if a temperature does not reappear on the screen, Viking’s advice is to get a technician in at once.
Viking Repair Marblehead covers Old Town, Marblehead Neck, Peach Highlands and Swampscott. Call (508) 785-6498 if the new refrigerator will not settle down.
Still asked on the phone
How deep is the opening for a Viking built-in refrigerator?
Viking designs its built-in refrigerators, the stainless fronts and the Custom Panel versions alike, to go into a standard 24-inch-deep cabinet opening and finish flush with the cabinet faces. Anything on the back wall, such as a valve, an outlet box or thick old plaster, eats into that depth and pushes the front out.
What power and water does a Viking built-in refrigerator need?
It needs its own 115 volt, 15 amp circuit with nothing else on the breaker, plus a 1/4-inch copper water line with house pressure between 20 and 120 psi. The 5 Series VCSB5424 side-by-side lists the same supply at 60 Hz, and the FDREIC integrated units call for the same circuit and line.
What widths do Viking integrated refrigerators come in?
The FDREIC integrated all-refrigerator is made in 24, 30 and 36-inch widths, and the 5 Series VCSB5424 built-in side-by-side is a 42-inch unit holding 25.32 cubic feet in total. Height and the exact cutout size differ by model, so build the cabinet to the install sheet for the unit you have bought.
How long after installation will a Viking built-in make ice?
Give a newly installed 5 Series built-in 24 to 48 hours before you expect any ice, then throw away the first three full drawers it makes. If nothing appears after that, check that the signal arm is down, the freezer has had a night to get cold, the water valve is open and the line is dry.